Step 1: Sign in to your Google account that you want to use for Google Analytics if you haven’t signed in yet
Step 2: Type in Google google analytics
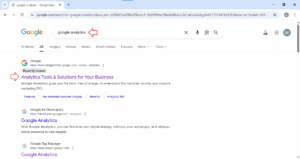
Click on the first result
Step 3: Press on Get started today to go to the Account creation page

Step 4: Add in an account name
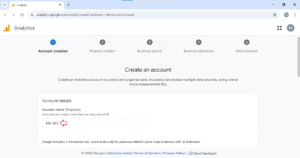
Then click on the Next button at the left bottom to go to Property creation page
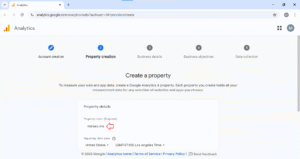
Step 5: Add in a Property name
In the Reporting time zone field, choose the time zone you are in
In the Currency field, choose the currency you’d like
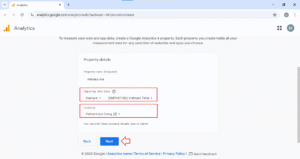
Press Next when you are done to enter the Business details page
Step 6: Select your business industry from the dropdown menu and then choose your business size from the options
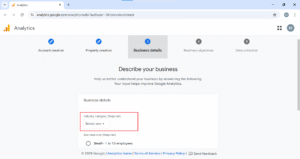
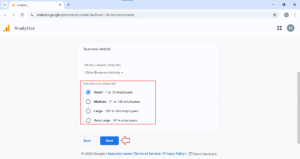
Press Next to go to the Business objectives page
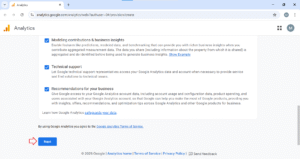
Step 7: Tick your business objectives and press on Create

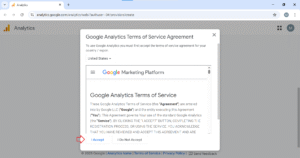
Step 8: Click on I Accept
Step 9: Choose Web platform

Add in your website address and a stream name
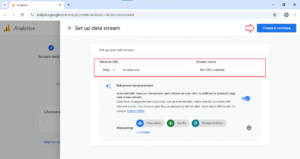
When you are done, click on Create & continue
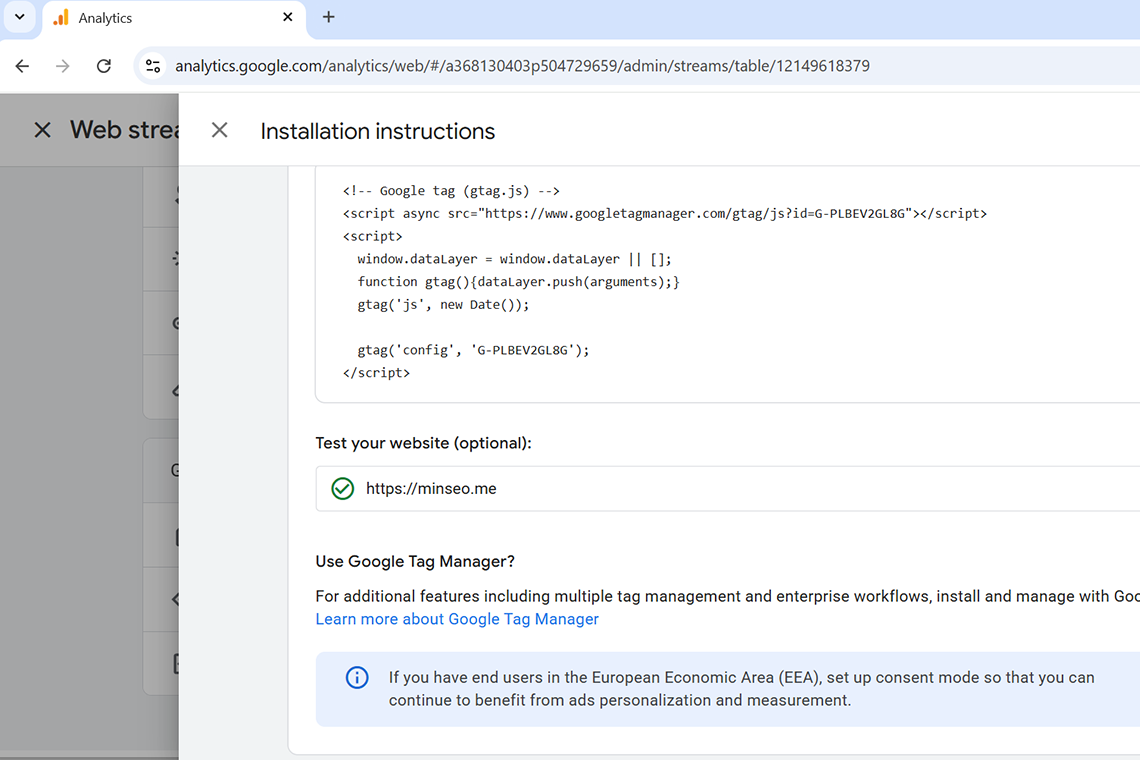
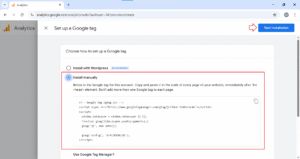
Step 10: Copy Google tag snippet and paste it before closing tag of head element </head> to have the Google tag installed on every page of your website
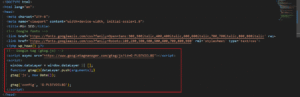
For example, in my project I will paste the Google tag snippet in the header.php file like this:
Then click on Test installation to check if the Google Analytics has been installed correctly on your website.
If everything has been setup correctly, you will see the message “Your Google tag was correctly detected on your website”.
But the data collection isn’t active for your website. You may have to wait for about 48 hours for the data collection process to complete.
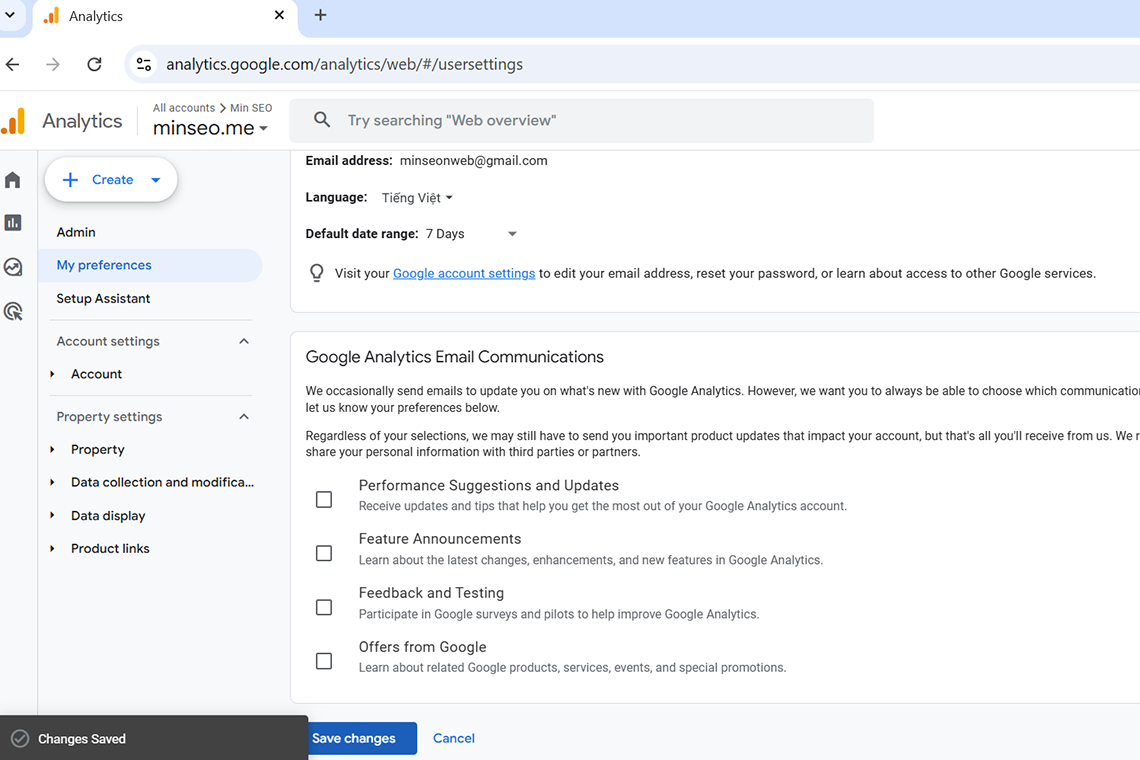
You can access Google Analytics by the link:
https://analytics.google.com/analytics/web
That’s it!